
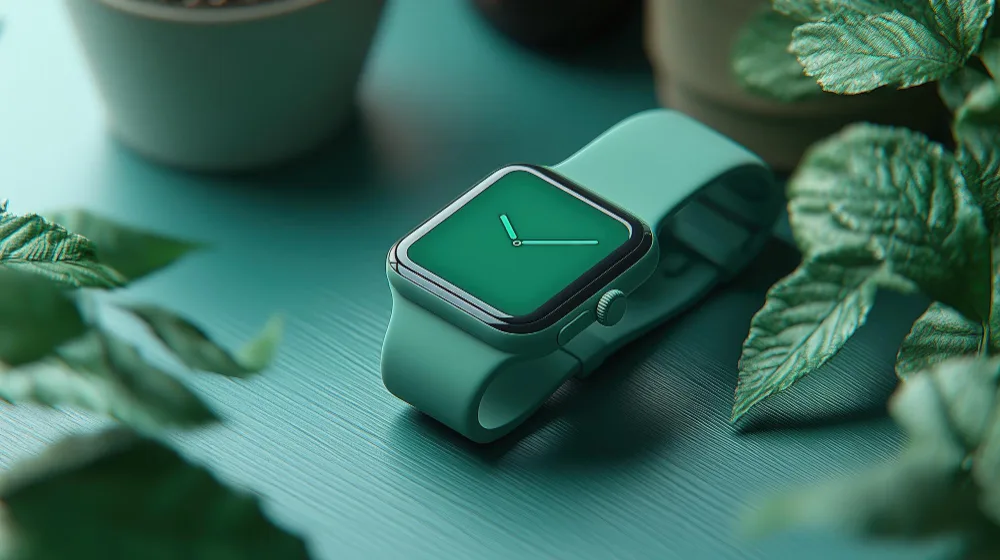
Apple Watch eSIM: Activation, Functionality, and Troubleshooting
The journey of the Apple Watch from a simple smartphone accessory to a standalone communication device has been made possible by eSIM technology. Unlike a traditional plastic SIM card, eSIM is a chip integrated directly into the motherboard, allowing cellular connectivity without the need to swap a physical card. This enables you to run, swim, or leave your phone at home while still staying connected.
1. Requirements and Compatibility
Before starting the installation, ensure that your hardware and software meet the Carrier requirements:
| Requirement | Explanation |
|---|---|
| Device model | You need an Apple Watch model with GPS + Cellular functionality. It is easiest to identify by the red circle (or dot) on the Digital Crown dial. |
| iPhone compatibility | The Apple Watch must be paired with an iPhone 8 or newer model. |
| Operating system | It is recommended to use the latest versions of iOS and watchOS. Some carriers require a specific version to activate Carrier Settings updates. |
| Carrier service | Your mobile carrier must support the Apple Watch eSIM service (in Lithuania, this is provided by Telia, Tele2, and Bitė). It is important to emphasize that not all plans support the Multi-SIM feature. |
2. Preparatory Work: Provisioning Process
Before setting up the eSIM, your iPhone must be connected to the same carrier network that you will use on the watch. Most carriers use the One Number service, which allows the same phone number to operate on both devices using VoLTE (Voice over LTE) technology.
3. Step by Step: eSIM Activation Process
The process is carried out using the iPhone, as it acts as the main Gateway for your watch.
- Open the Watch app: On your iPhone, select the My Watch tab.
- Select Cellular: In this section, you will see the option Set Up Cellular (or Add a New Plan).
- Carrier authentication:After pressing the activation button, you will be directed to the carrier’s self-service page (usually through a WebView interface). Here you will need to log in with your account details.
- Plan confirmation:The carrier will automatically recognize that you want to add the Apple Watch to your existing plan. Confirm the Terms and Conditions.
- Provisioning:After confirmation, you will see a message on the screen that Activation is in progress. This may take from a few minutes to an hour for the Remote SIM Provisioning (RSP) server to transfer the profile data to the watch’s eUICC (Embedded Universal Integrated Circuit Card).
- Completion: Once the status changes to Connected, your watch is ready to use independently.
4. Technical Aspects: How Does Handover Work?
One of the most interesting aspects of the Apple Watch eSIM is its smart power management. The watch does not constantly use cellular connectivity (LTE/UMTS).
| Connection Type | Operating Principle |
|---|---|
| Bluetooth connection | If the iPhone is nearby, the watch uses Bluetooth to transmit data to save battery. |
| Wi-Fi connection | If Bluetooth is unavailable but a known Wi-Fi network is present, the watch will connect to it. |
| Cellular | Only when there is no Bluetooth and Wi-Fi connection, the eSIM module is activated. This is called the Automatic Switching function. |
5. Family Setup – An Exception to the Rule
Apple also offers the Family Setup feature, which allows you to set up an Apple Watch for a family member (e.g., a child) who does not have their own iPhone. In this case, the watch has its own separate phone number and a separate Cellular Plan. During setup, select Set Up for a Family Member. In this case, the carrier provides a new ICCID number specifically for that watch.
6. Possible Issues and Solutions
Even when following the instructions, disruptions may occur. Here are the most common issues:
- No Connection or No Service: Try turning Airplane Mode on and off on the watch. This forces the device to re-register on the Network.
- Carrier Settings Update: Go to your iPhone settings (Settings > General > About). If a network settings update is available, you will see a pop-up window.
- Reset Network Settings:If activation is stuck, perform Reset Network Settings on your iPhone (warning: this will erase saved Wi-Fi passwords).
- Authentication Error:This often happens due to unpaid bills or if the service is not included in your tariff plan. Contact your carrier’s Customer Support.
Conclusion
Setting up eSIM on the Apple Watch is a bridge between traditional telecommunications and modern wearable technology. While the user interface is maximally simplified, behind it lie complex Over-the-Air (OTA) processes and strict security protocols. Once the setup is successfully completed, the user gains complete freedom from the iPhone while maintaining the ability to make calls, receive notifications, and stream music anywhere cellular connectivity is available.
Sources
- GSMA. (2023). Remote SIM Provisioning Architecture for Consumer Devices. Source from GSMA official technical documentation library.
- Apple Support. (2024). Set up cellular on Apple Watch. Official technical guide.
- K. S. Kim et al. (2021). Security Analysis of eSIM Remote Provisioning in IoT Devices. Article from IEEE Internet of Things Journal (available via Google Scholar).
- M. Scholz. (2022). The Evolution of Embedded SIM: Performance and Challenges in Wearables. Technology analysis publication.
- Telia / Tele2 / Bitė. (2025). Rules and technical requirements for using the One Number service.
- I. T. Union. (2022). Standardization of eSIM identifiers and E.164 numbering mapping. International Telecommunication Union report.